
Getting started with Smart Lookup
Smart Lookup helps when you remember an idea but not the exact words, title, or location. The first win is one recovered source that becomes useful in your current work.
[!IMPORTANT] Lookup finds sources You can type a question, but Lookup returns ranked notes or note sections. It does not write the answer.
What you will do
- Open Smart Lookup.
- Describe one idea you know exists in your notes.
- Run the query.
- Expand one result.
- Verify the result.
- Open or use the source.
No API key, chat model, or Smart Context setup is required for this first search.
Before you start
Confirm that:
- Smart Lookup is installed and active; use its live Smart Plugins Store row to check access and complete any install or enable action
- Smart Lookup is installed and active; use its live Smart Plugins Store row to check access and complete any install or enable action
- Smart Environment has prepared the relevant sources and embeddings
- the vault contains at least one meaningful note about the topic
Use a real topic whose good result you could recognize. A generic demo query is difficult to judge.
1. Open Smart Lookup
Use the ribbon magnifying-glass action or run:
Smart Lookup: Open: Lookup view
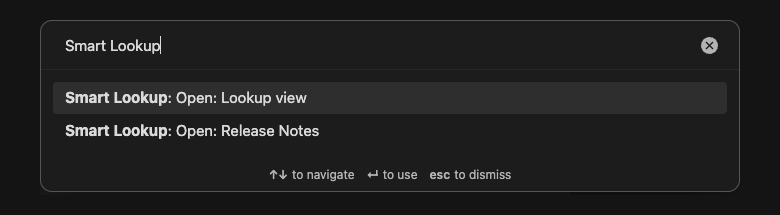
The Lookup sidebar opens with a query box. If the command is missing, use this sequence:
- Open Browse Smart Plugins and find Smart Lookup.
- Complete the install or enable action shown by its row, resolving any access message first.
- Complete a reload action if shown, then confirm that Smart Lookup is Active before opening its command again.
- Open Browse Smart Plugins and find Smart Lookup.
- Complete the install or enable action shown by its row, resolving any access message first.
- Complete a reload action if shown, then confirm that Smart Lookup is Active before opening its command again.
2. Describe what you want to find
Use one semantic intent:
subject + context + distinguishing detail
For example, a newsletter writer could ask:
What did beta readers say about the newsletter's voice and weekly format?
The example below follows that query through to the matching source. Use a question about your own notes. You can also select a complete phrase in a note and choose Search selection with Smart Lookup from the editor context menu.
Search for the material that you want to recover. Do not search for the report that you hope to create later. For example, use project risks, unresolved decisions, and next actions instead of summarize everything and recommend the best action.
3. Run the search
- With Auto-submit enabled, pause after typing and let Lookup refresh.
- With Auto-submit disabled, choose Lookup.
Use ordinary Lookup for this first search; it does not call a chat model. Generate HyDE is a separate optional action, not a prerequisite.
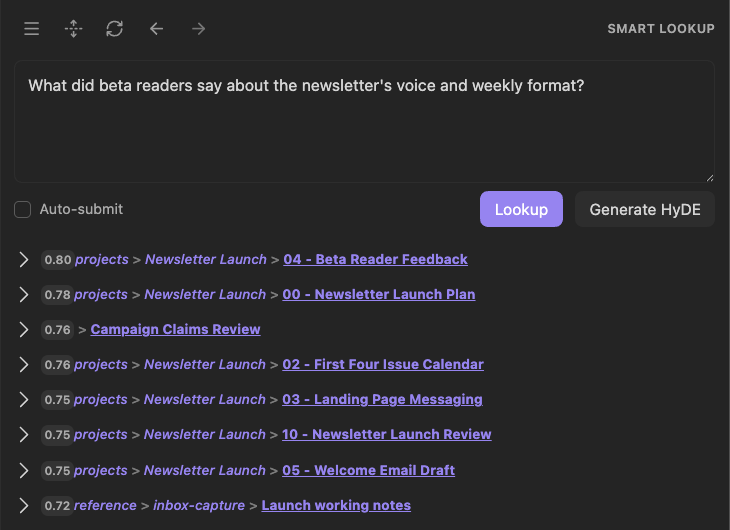
Shown in Smart Lookup Pro v0.2.2 with Sources as the result type.
One clear intent usually produces a more interpretable result set than a long multi-part prompt.
Use Previous query and Next query in the Lookup toolbar when you want to return to a question you already ran.
4. Verify one result
Start with the first one to three rows.
- Expand a promising result.
- Read enough of the excerpt to understand why it matched.
- Check the note title, heading, path, or line range.
- Open the source when the excerpt is not enough.
The score helps order inspection. It does not guarantee usefulness or correctness.
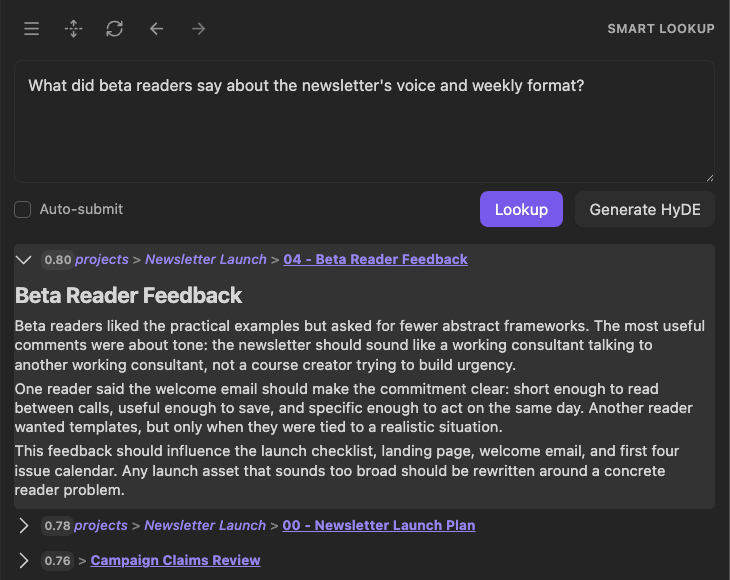
The expanded Beta Reader Feedback source answers the question with reader comments about voice, practical examples, and a format that fits between calls.
Preview before opening. Open before trusting.
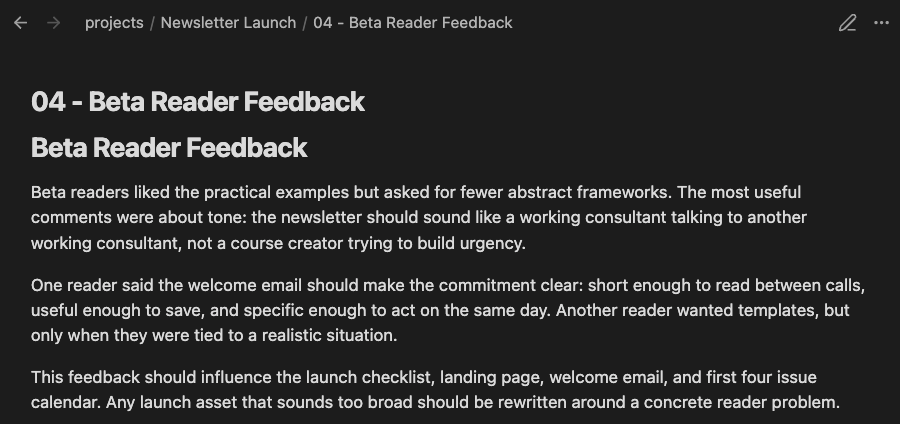
The opened source matches the expanded Lookup result shown above. This focused editor crop omits the Lookup pane; the accepted native capture retains both panes.
5. Use the useful source
Lookup has created value when the recovered note changes what you can do next. For example:
- continue reading the source
- add a normal Obsidian link to the working note and explain why it matters
- drag the source to a supported Context, Chat, Graph, or Connections destination
- use the evidence in a decision, draft, or review
After a drag or handoff, confirm that the expected source appears in the destination.
You know the first workflow succeeded when:
| Check | Successful state |
|---|---|
| Lookup opened | The sidebar shows the query box. |
| Query ran | A ranked result list appears. |
| Match was verified | An expanded or opened source contains relevant material. |
| Result became useful | You opened, linked, transferred, or applied the source. |
The Open in Context Builder and Explore in Smart Graph actions in the toolbar's More actions menu apply to the result list, not one result.
Optional: check the Context Builder handoff
When the reviewed result set belongs in a source package, choose More actions -> Open in Context Builder. Check the received source identities before copying or sending anything.
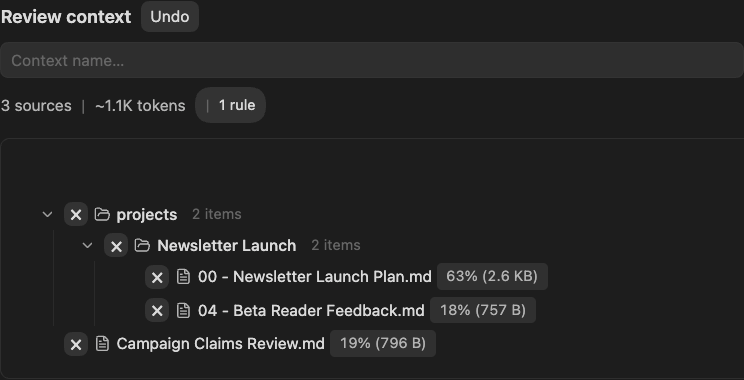
This receipt comes from a separate ordinary-Lookup run in Smart Lookup Pro v0.4.0 and Smart Context Pro v3.4.2, with Sources and a result limit of three. It does not continue the v0.2.2 first-search captures above. No copying or sending is shown.
See the complete Lookup-to-Context handoff for the query, list-menu action, and matching received sources. Smart Context remains optional for the first search.
If the first Lookup does not work
| What happened | Try first | |
|---|---|---|
| The command is missing | Check the Smart Lookup Store row. Complete its install, enable, access, or reload step, then confirm that it is Active. | Check the Smart Lookup Store row. Complete its install, enable, access, or reload step, then confirm that it is Active. |
| No results appear | Wait for Environment preparation. Query a topic known to exist in several notes. | |
| Results are too broad | Add one project, audience, constraint, or other distinguishing detail. | |
| Results are too narrow | Remove the least important detail. | |
| You need an exact phrase or title | Use Obsidian Search. | |
| You expected a written answer | Review the sources. Then continue with Smart Context or Smart Chat. |
If several known topics remain empty or stale, review Smart Environment readiness before tuning retrieval behavior.
Continue after the first result
Use the complete Smart Lookup documentation to:
- choose Sources or Blocks
- understand result metadata and scores
- drag reviewed sources into another workflow
- explore a result set in Smart Graph
- refine broad or narrow queries
Do not tune advanced settings until the basic workflow has recovered one source worth using.